
Tauri v2 with Auto-Updater
Let’s setup auto-updates with Tauri v2. For this guide, you will need a working Tauri project (v2), in a GitHub repository and integrated with CrabNebula Cloud. If you haven’t done that yet, the Publish Tauri with GitHub Actions guide will help you.
| crate name | description | version |
|---|---|---|
tauri-plugin-updater | Tauri plugin for auto-updates | ^2.0.0 |
tauri-plugin-dialog | Tauri plugin for dialogs | ^2.0.0 |
tauri-plugin-process | Tauri plugin for handling processes like app relaunch | ^2.0.0 |
To add them with cargo you can run:
cargo add tauri-plugin-updater tauri-plugin-dialogBefore starting to implement auto-updates, some capabilities must be enabled in your app. Usually capabilities are under /src-tauri/capabilities/main.json, adjust accordingly if your setup diverged from the defaults. Finally, add the necessary permissions so they match the JSON below:
{ "identifier": "main", "description": "permissions for desktop app", "local": true, "windows": ["main"], "permissions": [ "dialog:default", "updater:default", "process:default", "process:allow-restart" ]}To secure auto-updates, you need to generate a secret and public key pair. You can use the tauri-plugin-updater CLI to generate them:
npm exec tauri signer generate -- -w ~/.tauri/myapp.keyyarn tauri signer generate -w ~/.tauri/myapp.keypnpm tauri signer generate -w ~/.tauri/myapp.keybunx tauri signer generate -w ~/.tauri/myapp.keycargo tauri signer generate -w ~/.tauri/myapp.keyThe above commands will generate a prompt to add a password to your key, make note of that for a while.
The stdout will yield back:
Please enter a password to protect the secret key.Password:Password (one more time):Deriving a key from the password in order to encrypt the secret key... done
Your keypair was generated successfullyPrivate: /path/.tauri/myapp.key (Keep it secret!)Public: /path/.tauri/myapp.key.pub---------------------------
Environment variables used to sign:`TAURI_SIGNING_PRIVATE_KEY`  Path or String of your private key`TAURI_SIGNING_PRIVATE_KEY_PASSWORD`  Your private key password (optional)
ATTENTION:If you lose your private key OR password, you'll not be able to sign yourupdate package and updates will not work.---------------------------
In your CI integration, you must add 2 environment variable secrets:
TAURI_SIGNING_PRIVATE_KEYwith the content ofmyapp.key.TAURI_SIGNING_PRIVATE_KEY_PASSWORDwith the password you set.
And the contents of myapp.key.pub must be added to your tauri.conf.json:
"bundle": { "createUpdaterArtifacts": true }, "plugins": { "updater": { "active": true, "endpoints": [ "CrabNebula Cloud updater endpoint" ], "dialog": true, "pubkey": "contents of myapp.key.pub" } }Get Updater Endpoint from CrabNebula Cloud
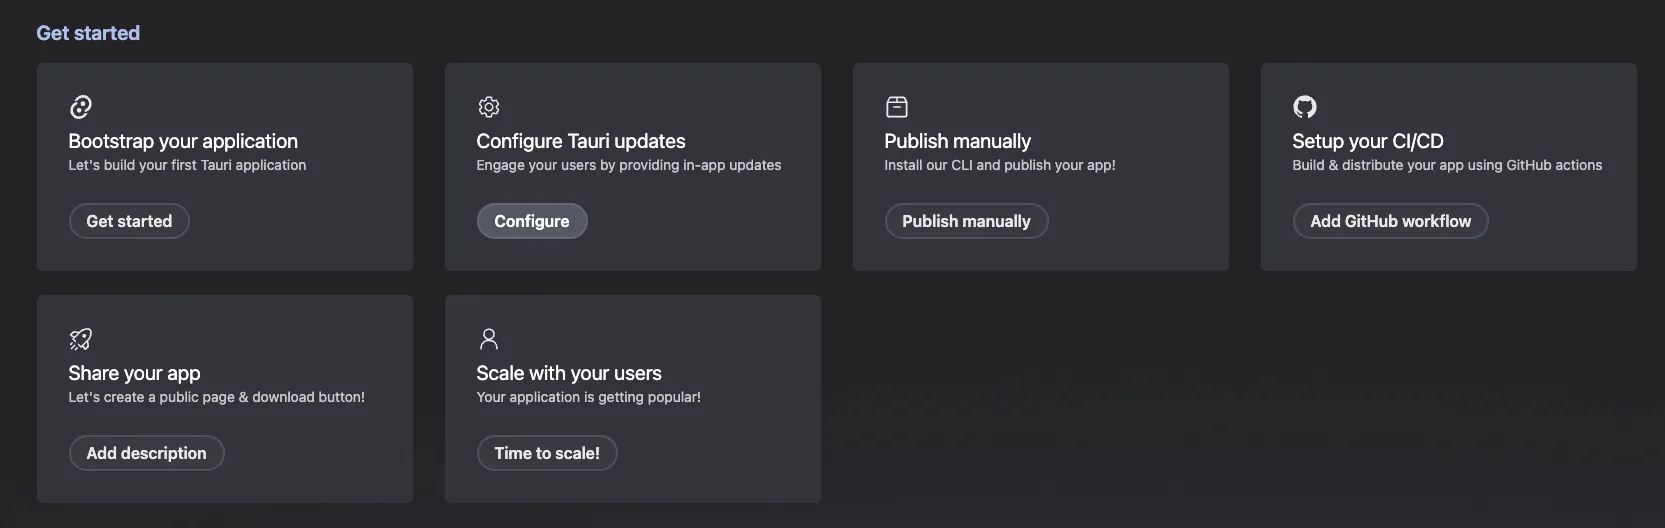
Section titled “Get Updater Endpoint from CrabNebula Cloud”Navigate to CrabNebula Cloud and login. At the Get started section you will find the Configure Tauri Updates card. Clicking on “Configure” will offer you a snippet with the endpoint.
The endpoint URL follows this template:
https://cdn.crabnebula.app/update/your-org/your-app/{{target}}-{{arch}}/{{current_version}}Do not replace the curly brackets, those are variables that will be used by Tauri itself when defining the right endpoint to hit. CrabNebula will take care of the rest.
Now it’s time to wire things up and use it within your app. The infrastructure is in place, we need to connect to it and to provide a decent user experience. First, we will add the plugins to our Tauri app.
use tauri_plugin_dialog;
pub fn run() {    builder        .plugin(tauri_plugin_updater::Builder::new().build())        .plugin(tauri_plugin_dialog::init())        .run(tauri::generate_context!())        .expect("error while running tauri application");}
And now it’s time to make use of that from the front-end side. We will create a method that will ping the endpoint for updates. If a new version is available it will download it and gracefully restart the app.
import { check } from "@tauri-apps/plugin-updater";import { ask, message } from "@tauri-apps/plugin-dialog";import { relaunch } from "@tauri-apps/plugin-process";
export async function checkForAppUpdates() {  const update = await check();
  if (update?.available) {    const yes = await ask(      `Update to ${update.version} is available!Release notes: ${update.body}        `,      {        title: "Update Now!",        kind: "info",        okLabel: "Update",        cancelLabel: "Cancel",      }    );
    if (yes) {      await update.downloadAndInstall();      await relaunch();    }  }}
Lastly, we let this run early and non-blocking.
import { checkForAppUpdates } from "./updater";
function App() {  onMount(async () => {    await checkForAppUpdates();  });
  return <h1>Hello world</h1>;}
import { checkForAppUpdates } from "./updater";
function App() { useEffect(async () => { await checkForAppUpdates(); }, []);
return <h1>Hello world</h1>;}<template> <h1>Hello world</h1></template>
<script>import { checkForAppUpdates } from "./updater";
export default { name: "App", async mounted() { await checkForAppUpdates(); },};</script>import { Component, OnInit } from "@angular/core";import { checkForAppUpdates } from "./updater";
@Component({ selector: "app-root", templateUrl: "./app.component.html", styleUrls: ["./app.component.css"],})export class AppComponent implements OnInit { constructor() {}
async ngOnInit() { await checkForAppUpdates(); }}import { component$, useMount$ } from "@builder.io/qwik";import { checkForAppUpdates } from "./updater";
export const App = component$(() => { useMount$(async () => { await checkForAppUpdates(); });
return <h1>Hello world</h1>;});<script> import { onMount } from 'svelte'; import { checkForAppUpdates } from './updater';
onMount(async () => {await checkForAppUpdates();});
</script>
<h1>Hello world</h1>import { checkForAppUpdates } from "./updater";
document.addEventListener("DOMContentLoaded", async () => { await checkForAppUpdates();});With this setup, you now have auto-updates and CI/CD in your app through CrabNebula Cloud. This is recommended to make sure your users always have the best and most secure experience. If you have any issues, feel free to reach out at the CrabNebula Discord or the Tauri Discord.