Packager with Auto-Updater
In this guide we will cover setting up Packager’s auto-updater with CrabNebula Cloud.
We will use a sample Slint app to demonstrate the process. However, the process is very similar for any other app built with Cargo.
Prerequisites
To get started, you will need the following:
- Rust installed on your machine
- CrabNebula Cloud account
Additionally, you will need to install Cargo packager itself. You can do this by running the following command:
cargo install cargo-packager --lockedDownload and Configure the Sample App
The Slint sample app is provided within the cargo packager repository. All the necessary zipped files can be downloaded. Should you want to use a different app, the guide is relatively easy to adapt. There are other sample apps for other GUI frameworks available in the repo as well. For Tauri apps, however, we feature a separate guide.
Customize the Sample App
Navigate into the just downloaded folder and open the Cargo.toml file. You will need to adjust the name to super-slint-app and the version to 2.0.0.
The Cargo.toml file should look like this:
[package]name = "super-slint-app"version = "2.0.0"edition = "2021"publish = false
[dependencies]slint = "1.0"
[build-dependencies]slint-build = "1.0"
[package.metadata.packager]before-packaging-command = "cargo build --release"product-name = "Slint example"identifier = "com.slint.example"resources = ["Cargo.toml", "src", "32x32.png"]icons = ["32x32.png"]
The before-packaging-command key is set to cargo build --release to build the app before packaging it. If your app requires a different command to build, you can adjust it here.
Add the Packager Auto Updater
Now we need to add the packager auto updater as a dependency. Open a Terminal and navigate to the app’s root folder. Run the following command to add the packager auto updater as a dependency:
cargo add cargo-packager-updaterGenerate a Signing Key Pair
In order to later ship updates, we need our application to be signed so that the auto updater can verify the integrity of the updates. Hence, we need to generate a signing key pair:
cargo packager signer generateAfter setting a password, you will see two keys generated: a private key and a public key. The private key will be used to sign the updates, and the public key will be used to verify the updates. The private key should be kept secret and not shared with anyone.
In order to sign the updates, we need to set the private key and its password as environment variables. Run the following commands to do so for the current terminal session:
export CARGO_PACKAGER_SIGN_PRIVATE_KEY=YOUR_PRIVATE_KEYexport CARGO_PACKAGER_SIGN_PRIVATE_KEY_PASSWORD=YOUR_PASSWORDYou will need the public key later when setting up the auto updater in the app.
Add the App to Your CrabNebula Cloud Organization
Go to crabnebula.cloud and sign-in with your GitHub or GitLab account. You will be asked to set up an organization and to create your app.
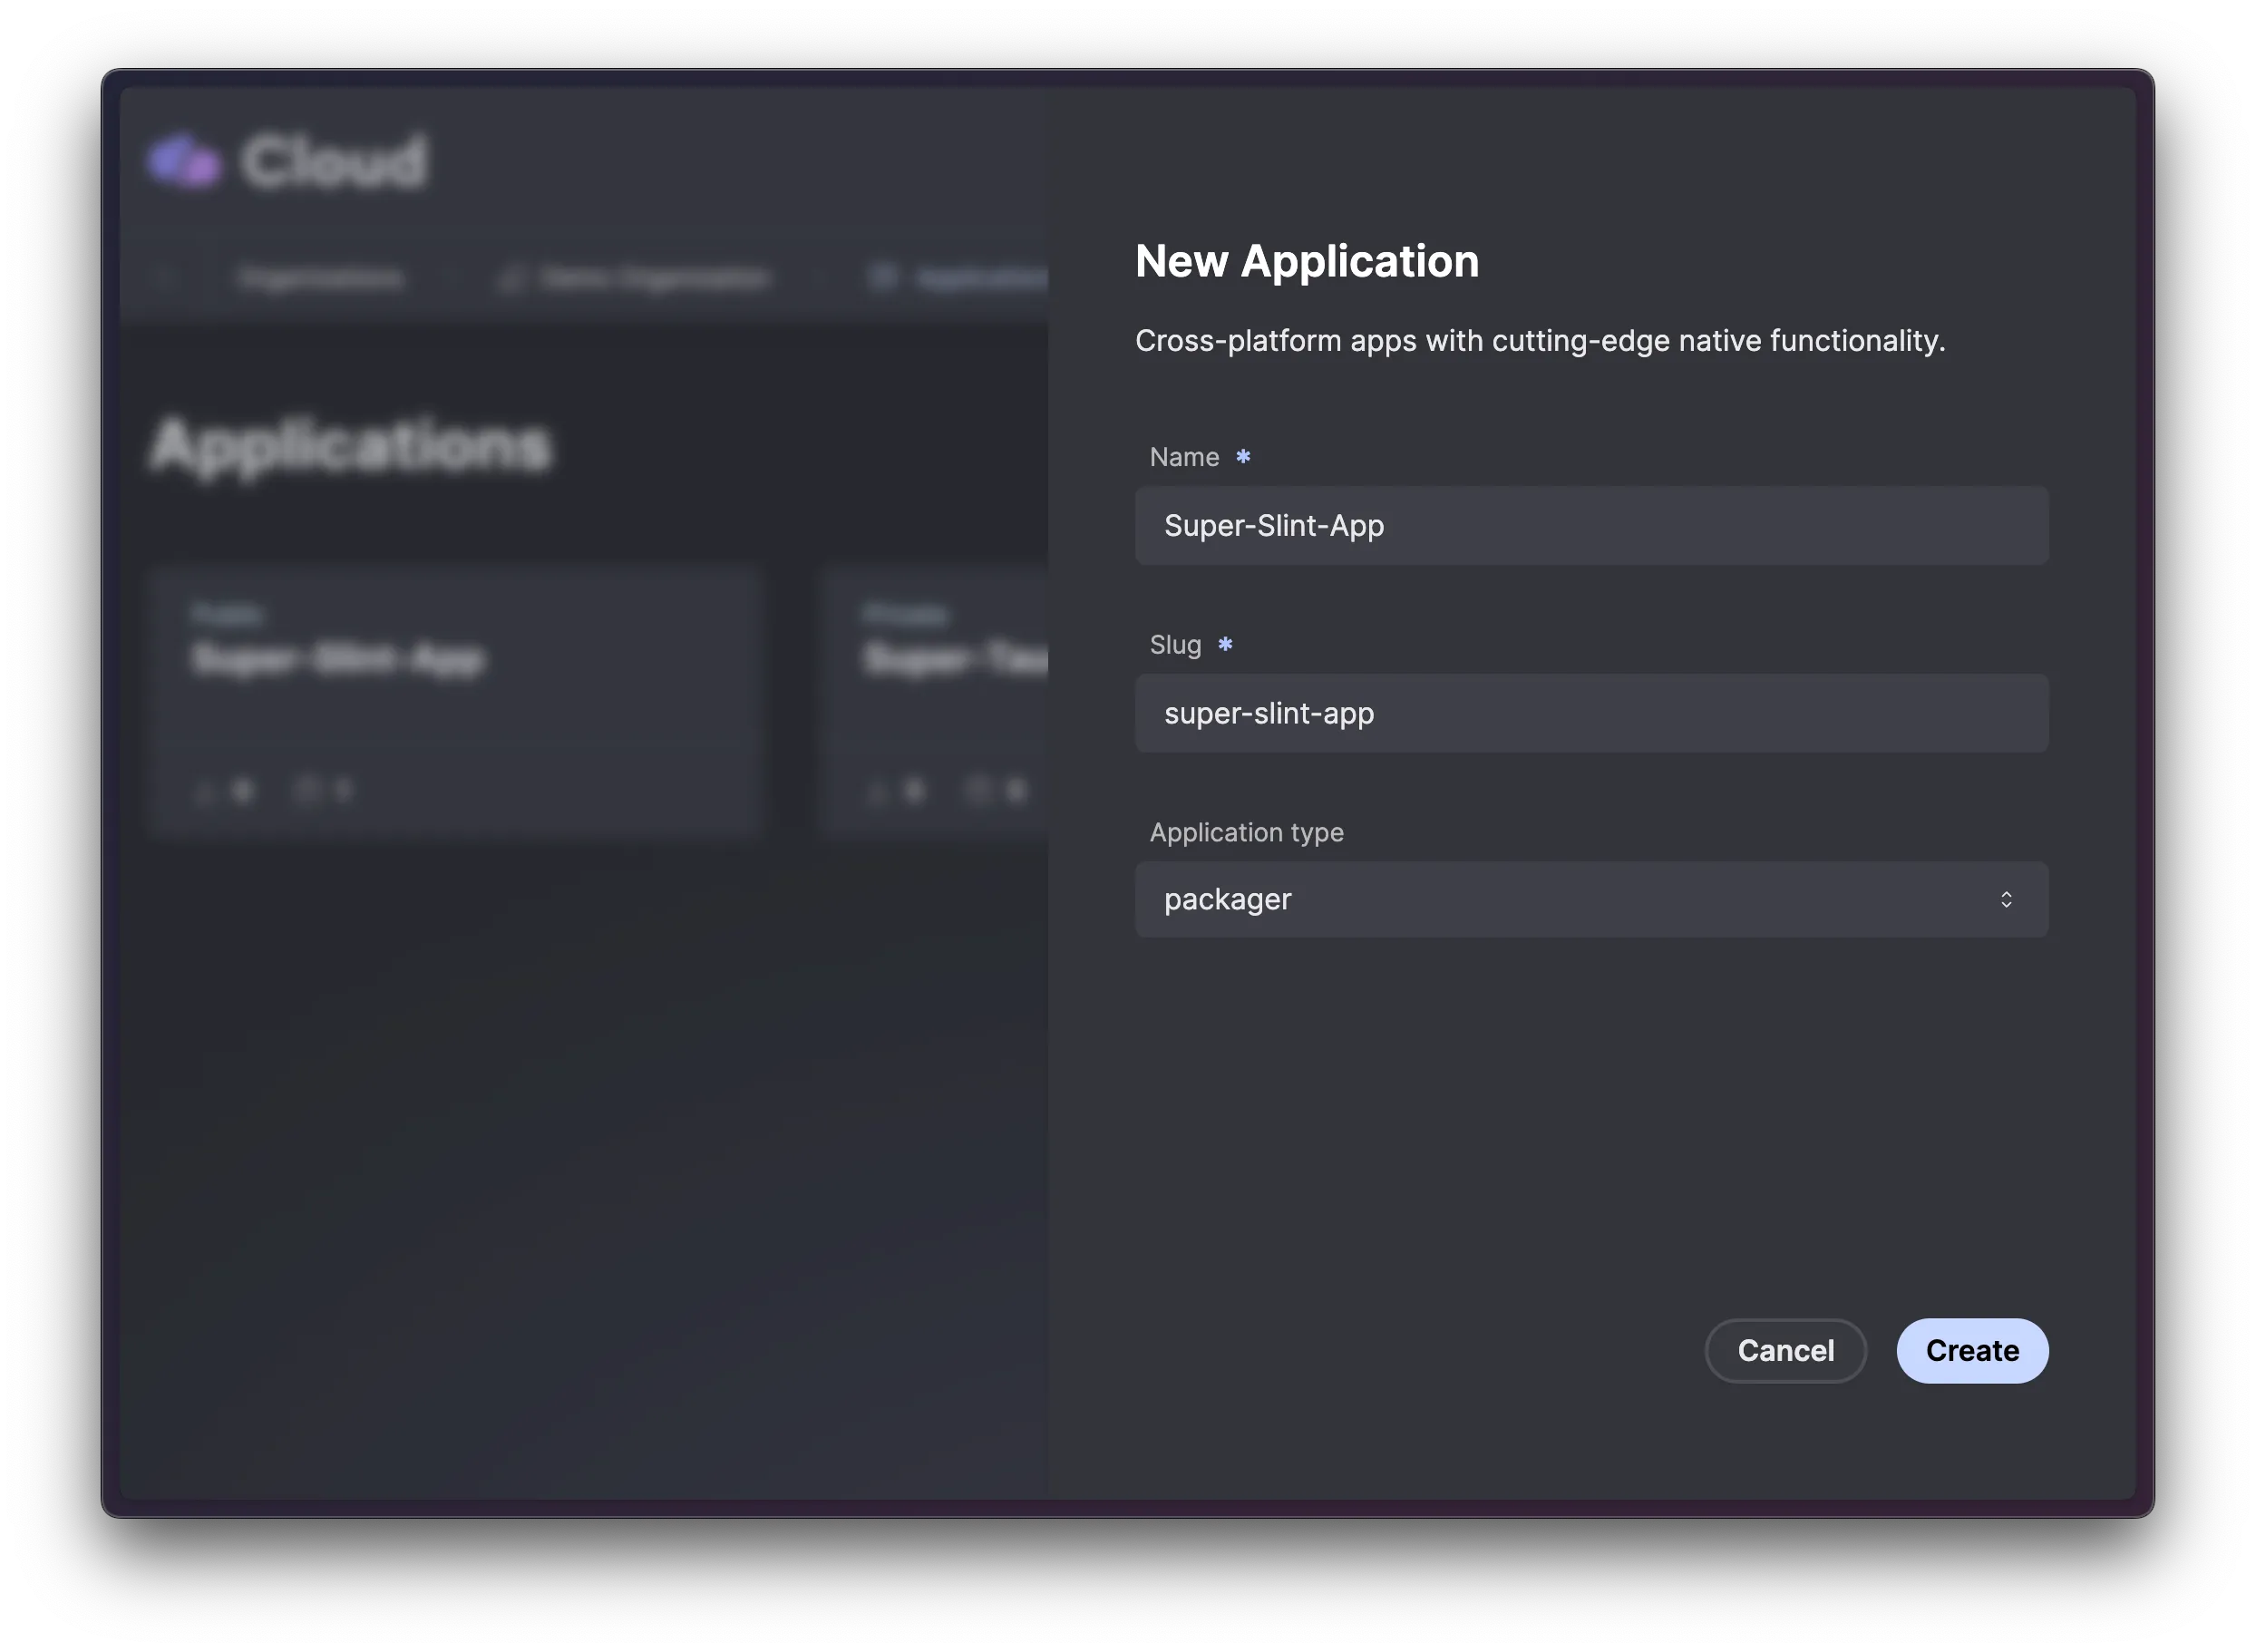
Call it Super-Slint-App and leave the generated slug as is. You will then need to select packager as application type. Make sure to note the organization slug and the app slug as you will need them later. Finally you’ll have it as the image below.

After creating the app, you will be redirected to the app’s application overview page. Here you can adjust the app’s metadata, such as the website, description, and repo link. For now we will focus on creating an initial release. Start by clicking on Create release in the releases section which will show us some of the commands we need to run.
Before we can execute the commands, we need to download the Cloud CLI. Make sure that the CLI is executable and available in your PATH. Additionally, the binary should be named cn. Should you need assistance with this, please refer to the CLI installation guide.
Confirm that the CLI is installed by checking the CLI version:
cn --versionGenerate an API key
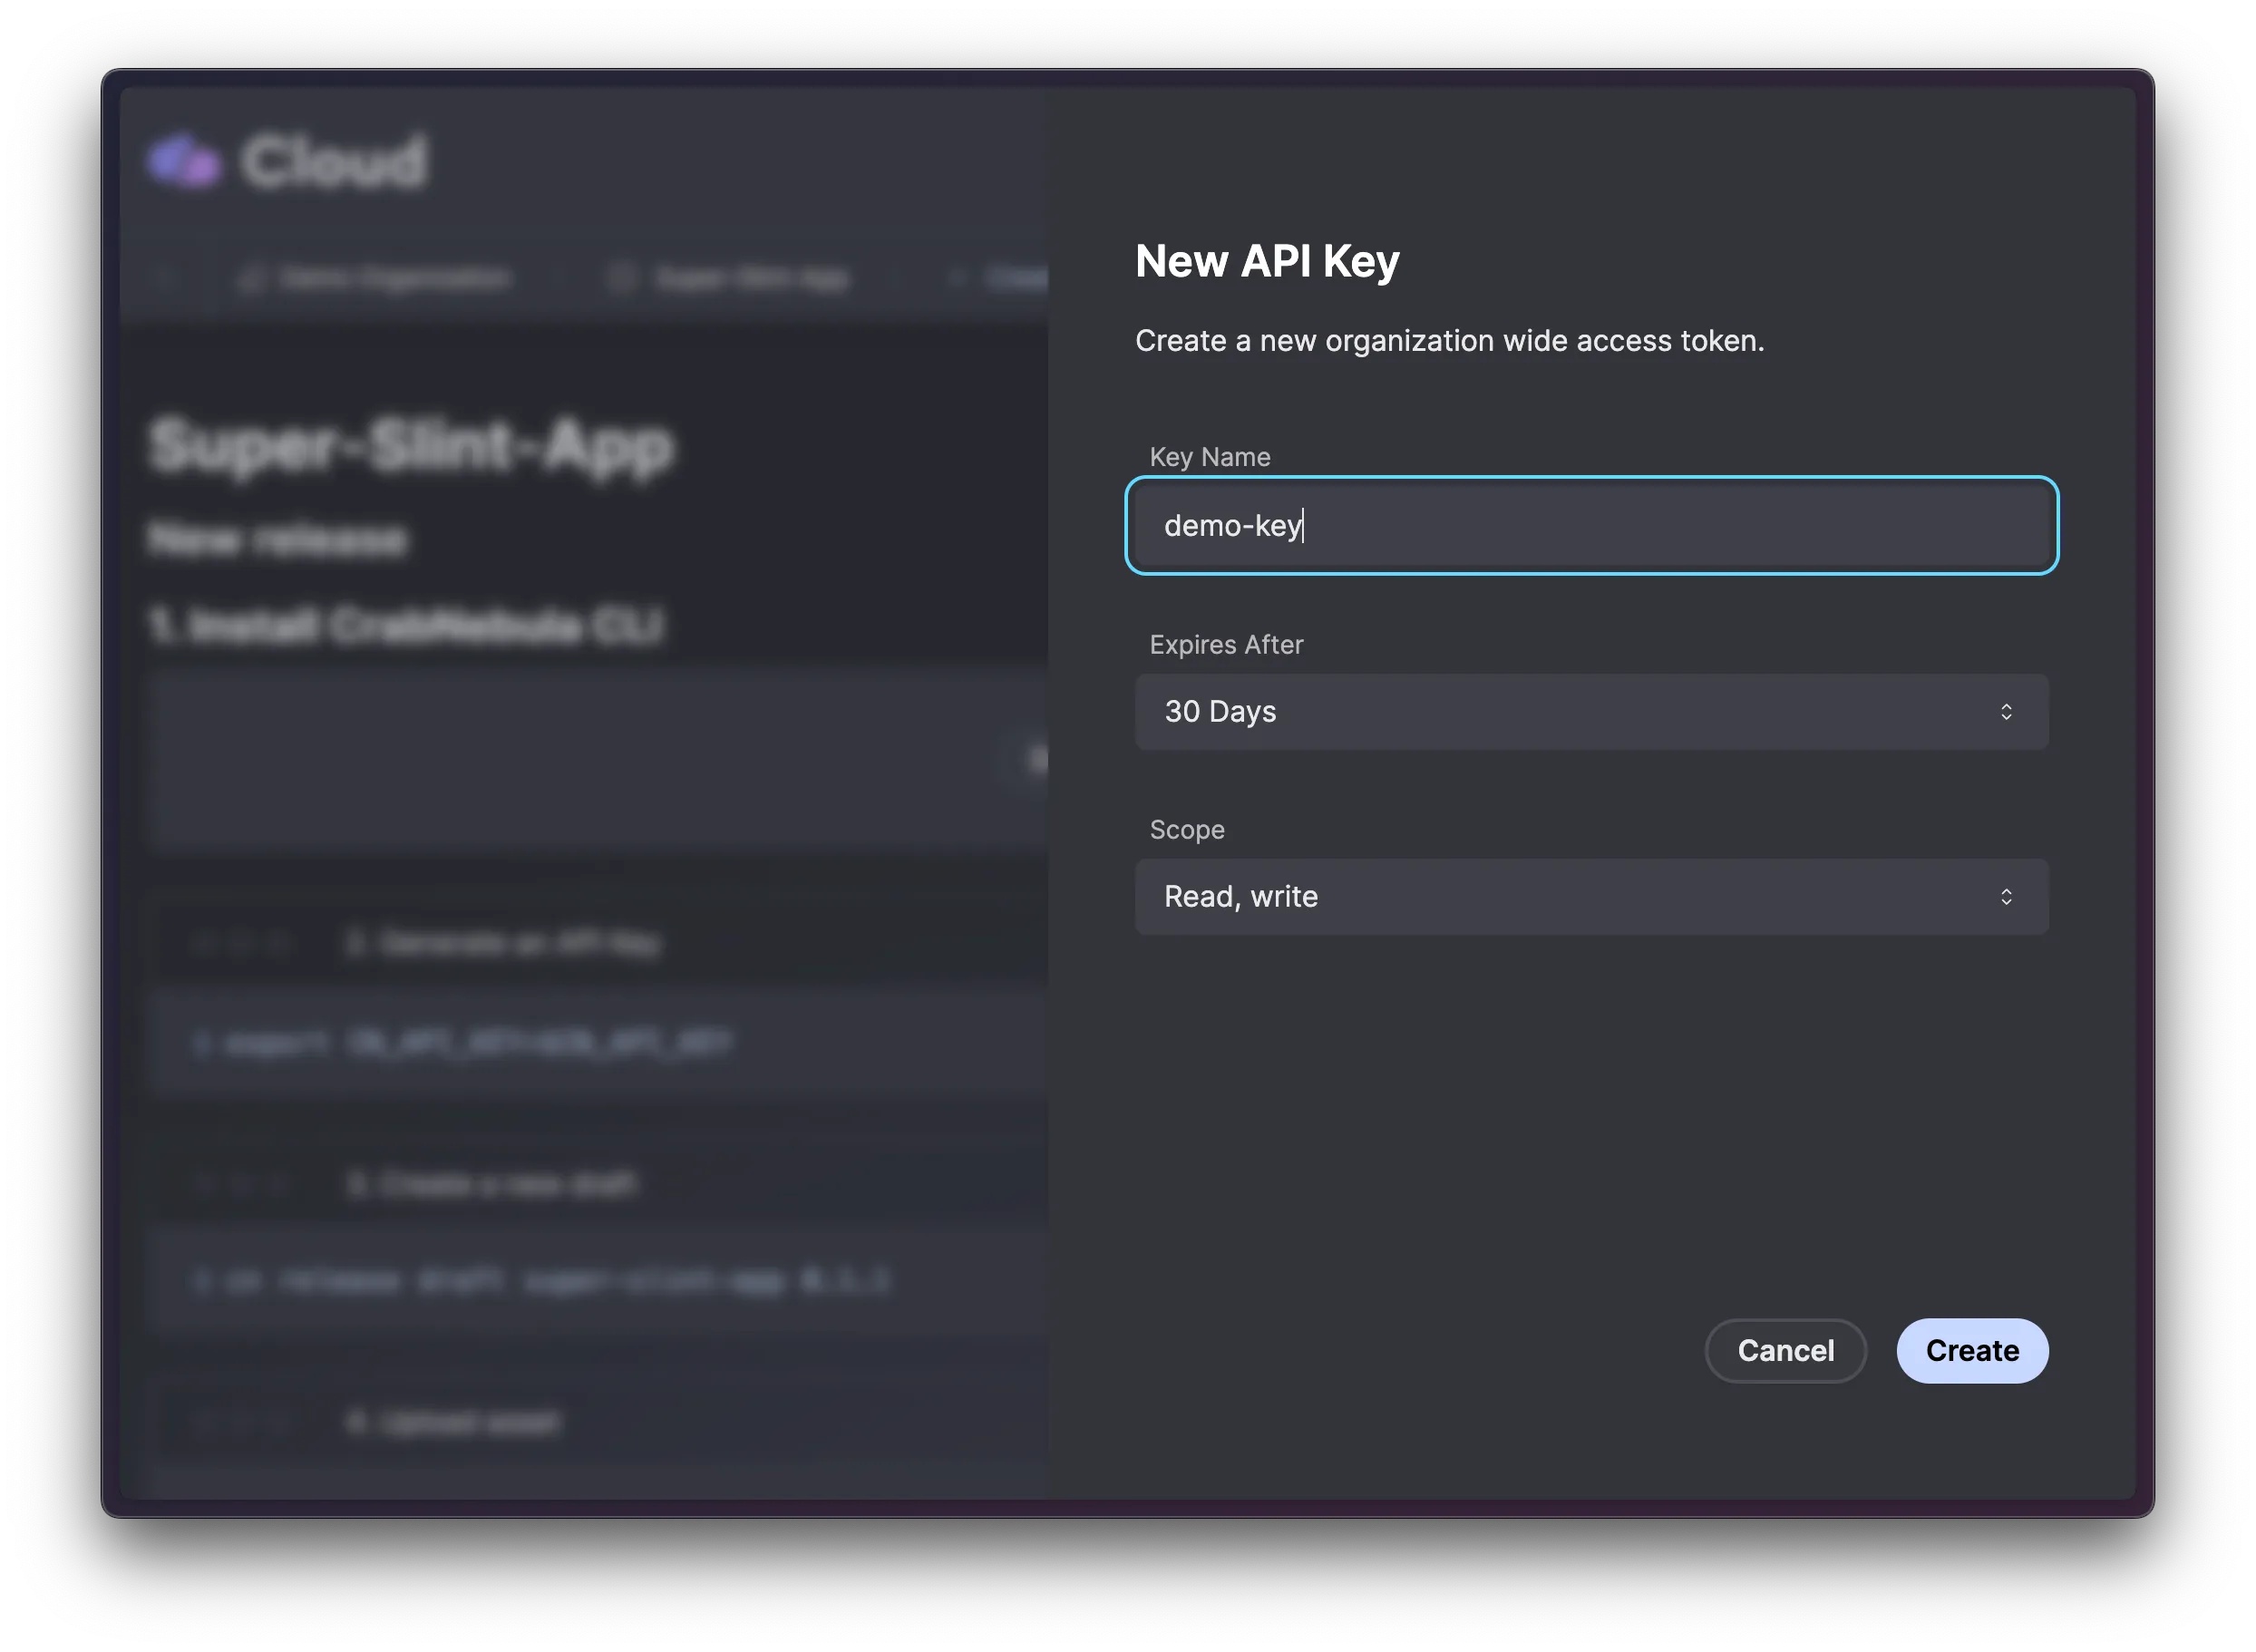
Now we will need to generate an API key which has read and write access to the app and allows the CLI to be authenticated. To achieve this, the key will be set as an environment variable for the CLI to use. Generate the key by clicking New, set a name, expiry date and the necessary read/write scope and then copy the command which should include your key. Run the command in your terminal to set the key as an environment variable for the current terminal session:
export CN_API_KEY=YOUR_API_KEY
Draft a new release
Make sure that your terminal context is in the app’s root folder and draft a new release:
cn release draft YOUR_ORG_SLUG/YOUR_APP_SLUG --framework packagerMake sure to replace YOUR_ORG_SLUG with the organization’s slug. While for YOUR_APP_SLUG be sure to use super-slint-app as that was the application slug created in a previous step.
The relevant release info will be extracted from the app’s Cargo.toml file automatically and you should see a JSON response with the release’s ID and the line "version": "2.0.0".
Include Auto Updater and Version
Open the src/main.rs file and add the following code to include the auto updater:
Include the following imports at the top of the file:
use cargo_packager_updater::{semver::Version, url::Url};Add the following code at the beginning of the main function:
    let config = cargo_packager_updater::Config {        endpoints: vec![Url::parse("https://cdn.crabnebula.app/update/YOUR_ORG_SLUG/YOUR_APP_SLUG/{{target}}-{{arch}}/{{current_version}}").expect("Failed to parse URL")], // REPLACE: YOUR_ORG_SLUG and YOUR_APP_SLUG of the app in CN Cloud        pubkey: String::from("YOUR_PUBLIC_KEY"), // REPLACE: YOUR_PUBLIC_KEY generated by the signer        ..Default::default()    };    let current_version =        Version::parse(env!("CARGO_PKG_VERSION")).expect("Failed to parse version");
    println!("Current version: {}", current_version);
    if let Some(update) = cargo_packager_updater::check_update(current_version.clone(), config)        .expect("Failed to check for update")    {        update            .download_and_install()            .expect("Failed to download and install update");        println!("Update installed")    } else {        println!("No update available")    }
Make sure to replace YOUR_ORG_SLUG, YOUR_APP_SLUG and YOUR_PUBLIC_KEY with the respective values. This tells the app to check for updates at the specified URL and to verify the updates with the public key.
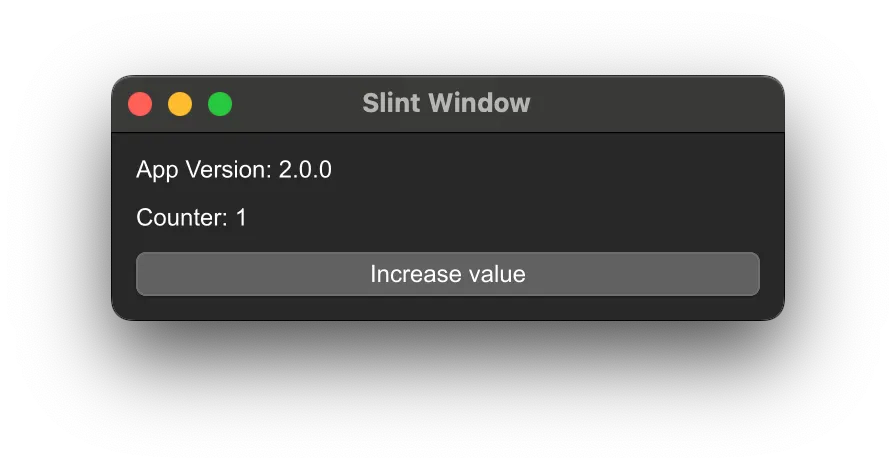
In order to later verify the version of the app we want to display it in the app window. Add the following line after the initialization of the ui object in the main function (after let ui = AppWindow::new()?;):
ui.set_app_version(current_version.to_string().into());Now open ui/appwindow.slint and add the following property at the top of the AppWindow component:
in property<string> app_version: "0.0.0";Then add the following code at the top of the VerticalBox to display the version in the window:
Text { text: "App Version: \{root.app_version}"; }Build and Upload Release Assets
To build the release assets, execute packager:
cargo packager --releaseSince we have set the before-packaging-command key in the Cargo.toml file to cargo build --release, the app will be built before packaging. The release assets will be generated in the target/release folder.
Copy the Cargo.toml file temporarily to the target/release folder and navigate there:
cp Cargo.toml target/release && cd target/releaseNow you can upload the release assets to the draft release:
cn release upload YOUR_ORG_SLUG/YOUR_APP_SLUG --framework packagerAfterwards you should see them appearing in the Assets section of the release page on CrabNebula Cloud.
Publish Release
Now you can go ahead and publish the release:
cn release publish YOUR_ORG_SLUG/YOUR_APP_SLUG --framework packagerIn CN Cloud, if you go back to the app’s application overview page, you will see the published release. Make the app public by clicking on the Make it public button in the Danger zone at the bottom of the page.
Now users will be able to download the app from the app’s public market page (linked at the top of the overview page) on CrabNebula Cloud.
Test the Auto Updater
To test the auto updater, you can decrement the version in the Cargo.toml file to 1.0.0 to simulate an older version. Afterwards we need to clear the target/release folder and rerun the packager:
rm -rf target/release/* && cargo packager --releaseNavigate to target/release and run the app. You should see the app window with the version 1.0.0 displayed. The app will check for updates and since an update is available (our initial 2.0.0 version), it will download and install it in the background.
If you restart the app you should see the updated version 2.0.0 displayed in the app window.
